Split seam or torn fabric? Look before stitching
A gap along an old stitch line and a tear through cloth call for different questions.
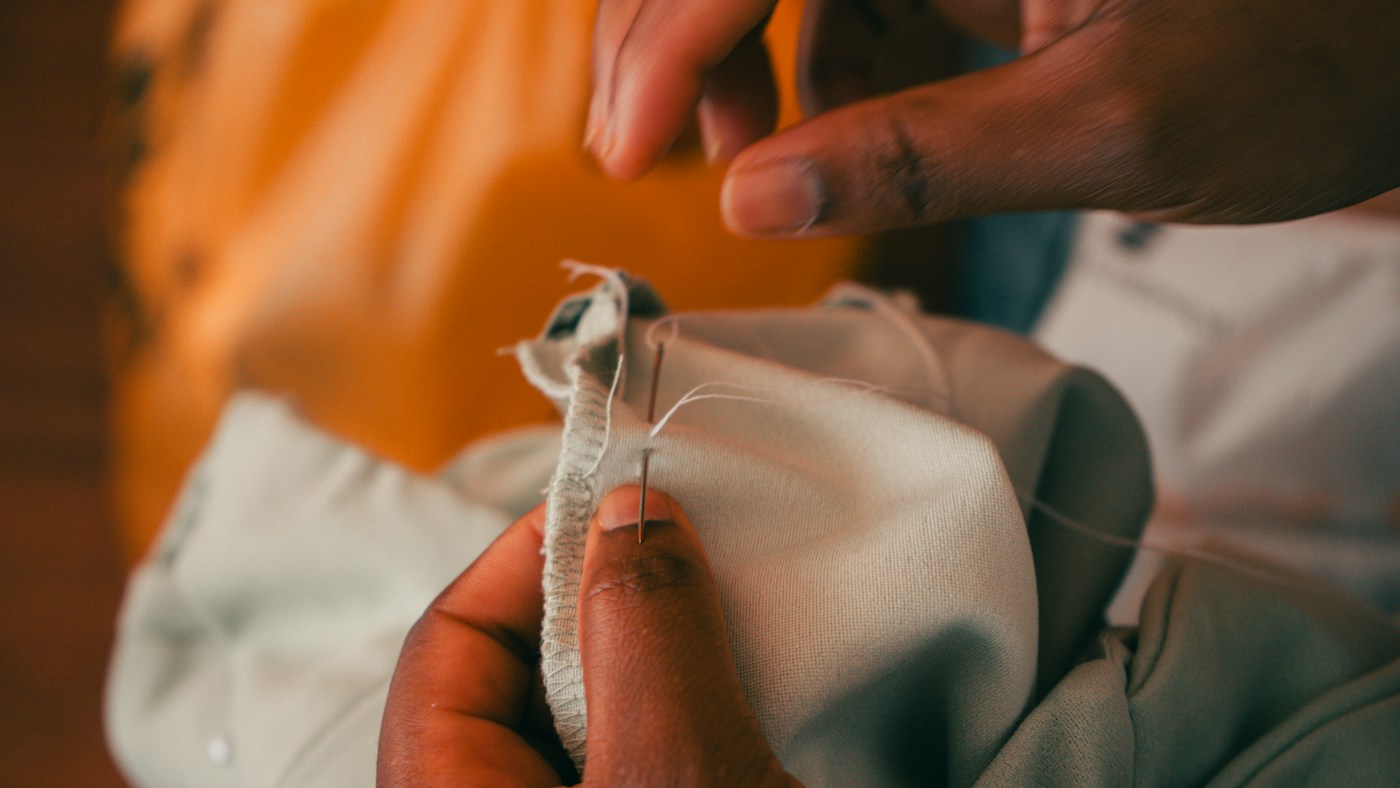
A gap in a garment can look like a simple invitation to join two edges. First, find out what has separated. If the sewing thread has broken while the cloth remains intact, you are looking at a different problem from fabric that has ripped beside the stitching. That distinction affects the repair. Closing every opening with a tight row of stitches can hide the damage briefly without addressing it.
Inspect both sides in good light
Turn the garment inside out and lay the area flat without stretching it. Follow the original seam past the opening on each side. Can you see intact seam allowances? Is there a previous stitch line to follow? Are fabric threads broken, or mainly the sewing thread? A magnifying glass or a clear close photograph may help. Do not cut away loose material until you understand what it is.
Write a one-sentence description before deciding on a technique. ‘Side-seam stitching has opened, cloth appears intact’ is a useful starting point. ‘Cloth has frayed away beside the seam’ signals a different task. If there is lining, elastic, a waterproof coating or a complicated construction, note that too. An everyday unlined woven garment is a more manageable learning project than a layered technical jacket.
Ask why the opening appeared
A repair needs enough sound material to hold its stitches. Consider whether the seam was caught on something, whether the garment pulls at that point when worn, or whether the surrounding cloth is wearing thin. These are questions to investigate, not diagnoses that can be made from one photograph. If a fit problem keeps loading the same area, restoring the old stitch line may not prevent another opening.
Purdue Extension's consumer-clothing material distinguishes common repairs such as split seams and hems, including the need to consider fabric and stitch type. Use a full sewing reference appropriate to the construction before stitching. A stretch garment, for example, should not automatically be treated like a firm woven cloth. This article is an inspection routine, not a promise that one hand stitch can repair every seam.
Make the repair reviewable
For a straightforward seam repair you are ready to attempt, mark the area and work from a complete method rather than improvising while wearing the garment. Keep the cloth relaxed as you work. Afterwards, examine both faces, remove temporary markings appropriately and check that no unintended layer has been caught. Put the garment on carefully and look for pulling before returning it to regular wear.
Photograph the finished area and save a short note about the original damage. Check it again after wearing and caring for the item according to its label. If the opening returns, do not keep adding tighter stitches by habit. Revisit the condition of the cloth and the load on the seam, or ask a repair professional. Learning to identify the problem is a mending skill in its own right, and often the part that saves the most unnecessary work.
Repair reference: Purdue Extension: Consumer Clothing manuals. The inspection questions above are an editorial workflow.