A button repair begins before the needle
Check the button, its position and the fabric underneath before choosing thread.
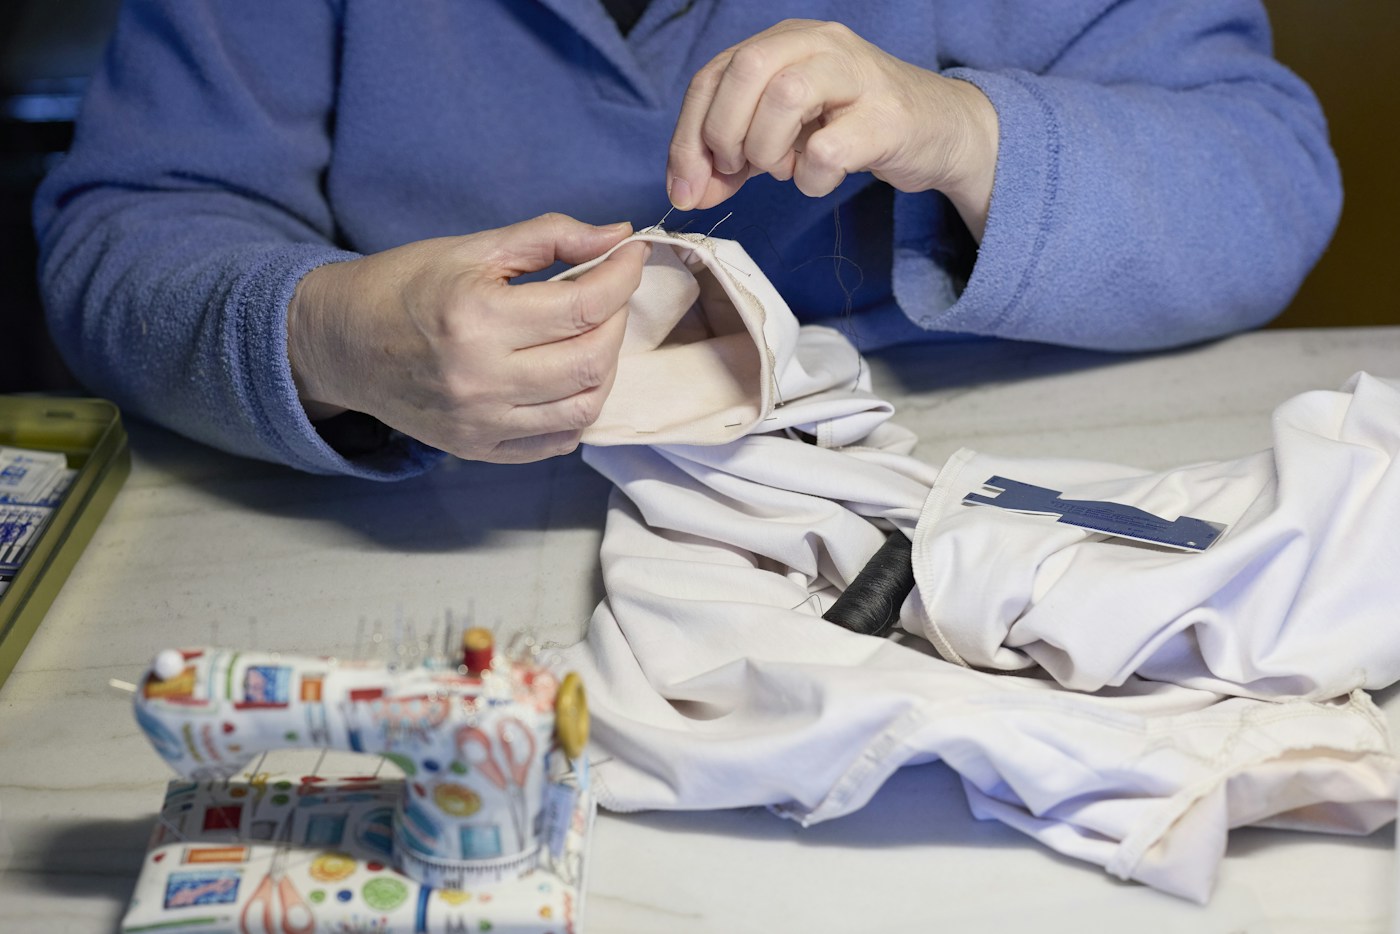
A loose button is a small repair with several decisions hidden inside it. Where should it sit? Is the cloth beneath it still sound? Does it need space for a thick layer to pass under it? Spending a few minutes on these questions makes the actual sewing less uncertain. Begin with an ordinary washable garment you can inspect easily, rather than a valuable or delicate piece.
Look at the working pair
A button works with its buttonhole, not in isolation. Lay the garment flat and compare the loose button with nearby ones. Check whether the buttonhole has stretched or the original position is still visible. Photograph the arrangement before removing old thread. If a button is missing, look for a spare attached inside the garment and compare its size with the opening before using it.
Examine the cloth on both sides. If the area is torn, very thin or distorted, simply adding more stitches through the same damaged spot may not be the whole repair. Put the garment aside for reinforcement advice rather than tightening thread until the cloth puckers. A button that pulls a hole through weakened fabric has not become more secure merely because it has more thread.
Set up for an unhurried repair
Prepare a hand-sewing needle appropriate for the cloth, suitable thread, small scissors and the button. Use a clear surface and somewhere secure for the needle when you pause. Match the thread to the existing buttons if you want a quiet repair; choose a contrast only as a deliberate design decision. Take care with the garment's other layers so that you do not accidentally sew a lining or pocket closed.
Kansas State Research and Extension's button handout explains the common button types and basic preparation. For a flat button on thicker fabric, a thread shank provides working room beneath it; a button with its own built-in shank is constructed differently. Follow a complete illustrated method for the type in front of you, rather than copying the path through a different button simply because the front looks similar.
Test how it closes
Once the button is attached and the thread secured, close the garment gently. The layers should meet without pulling the fabric into a deep dimple. Open it again and inspect the reverse side for accidental catches. Compare the new repair with an untouched button nearby. This quick functional check matters more than whether the stitches form an identical decorative pattern.
Finish by saving any spare button with a label identifying the garment. If you are learning, keep a short repair note: needle, thread, button type and anything you would change next time. That note does not have to prove the repair will last forever. It simply makes the next small task less mysterious. A button repair is a useful place to practice preparation, control and a final check that the clothing still works as clothing.
Illustrated button reference: Kansas State Research and Extension: Essential Living Skills, Apparel Management, Handout D. Preparation and review prompts are editorial suggestions.