Make a patch sample before touching the garment
A scrap gives you somewhere to test scale, color and handling without committing the finished piece.
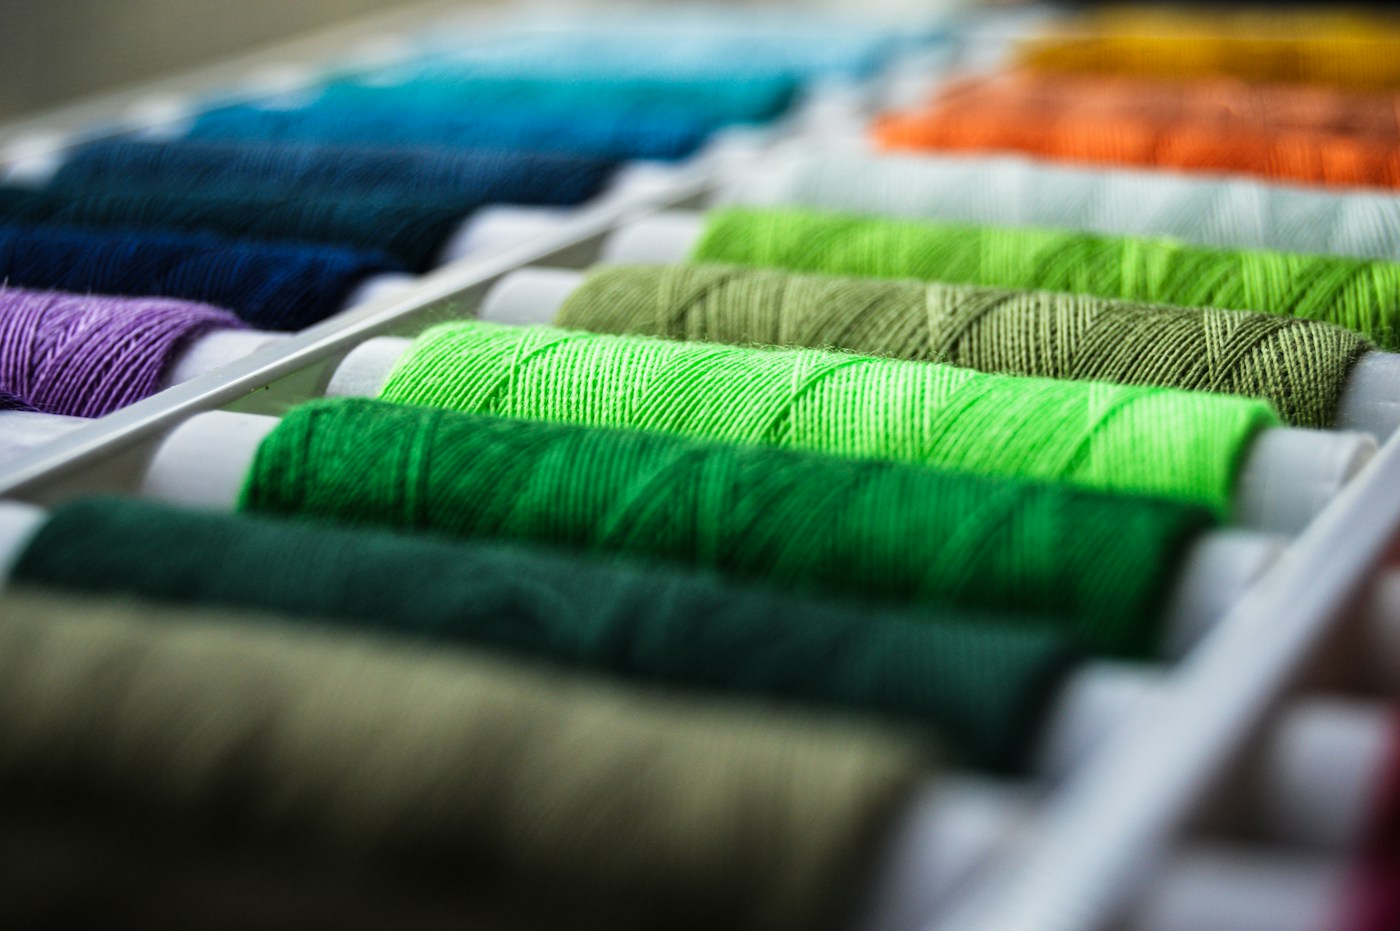
A visible patch can be part of a garment's design, but a design decision is easier to make on a sample than on a favorite sleeve. A small trial lets you compare patch shape, thread color and stitch spacing before committing. It also reveals how the materials feel together. The goal is not a perfect miniature; it is a useful answer to a few practical questions.
Choose a question for the sample
Begin with one uncertainty. Perhaps a large patch looks heavy, a contrast thread seems too busy or the proposed fabric feels stiff against the garment. Write the question on a card and choose scraps that resemble the actual materials as closely as possible. A sample made from entirely different cloth may still teach the movement of a stitch, but it will tell you less about the finished repair.
Compare the weight, stretch and care requirements of the patch material and the garment. Follow their care information when preparing the pieces. Keep the garment itself out of the trial until you are comfortable with the plan. If the damage is in delicate, valuable, coated or highly elastic fabric, seek a method designed for that material rather than assuming that a decorative patch will solve the structural problem.
Make two small versions
Try two patch outlines or two thread colors on separate areas of the same scrap. Change one design choice at a time so that the comparison remains readable. Mark which version is which before the scraps become separated. If you are learning a stitch, use a complete illustrated instruction and practice its movement slowly. A sample is a good place to discover uneven tension without unpicking the garment.
Look at the front, back and edge of each version. Does the sample lie flat? Does it bend comfortably? Is the patch edge controlled by the method you chose? Hold it at approximately the distance from which the garment is normally seen. A thread that looks subtle close up may produce a stronger visual pattern across a larger repair. This is an aesthetic judgment you can make without claiming one option is objectively better.
Keep the sample with its notes
If the materials permit it, care for the finished sample using the same procedure planned for the garment, then inspect it again. Record the method and any changes you notice. A single trial cannot guarantee long-term durability, but it can reveal a mismatch before you spend time on the final piece. Keep the most informative sample rather than only the prettiest one.
When you move to the garment, reassess the damaged area itself. A patch needs an appropriate relationship to the surrounding sound fabric; its decorative appearance is only one part of the task. The RE:Source public-agency repair guide links separate demonstrations for holes and for seam damage, a useful reminder to choose a method by the problem. Your sample card can then hold the design decisions, leaving you free to concentrate on the actual repair.
Repair-method starting points: RE:Source: DIY Clothing Repair. The two-sample exercise and comparison prompts are editorial suggestions.