A mending tray with an exit plan
A repair pile becomes easier to use when each garment has a next action and a clear place to go.
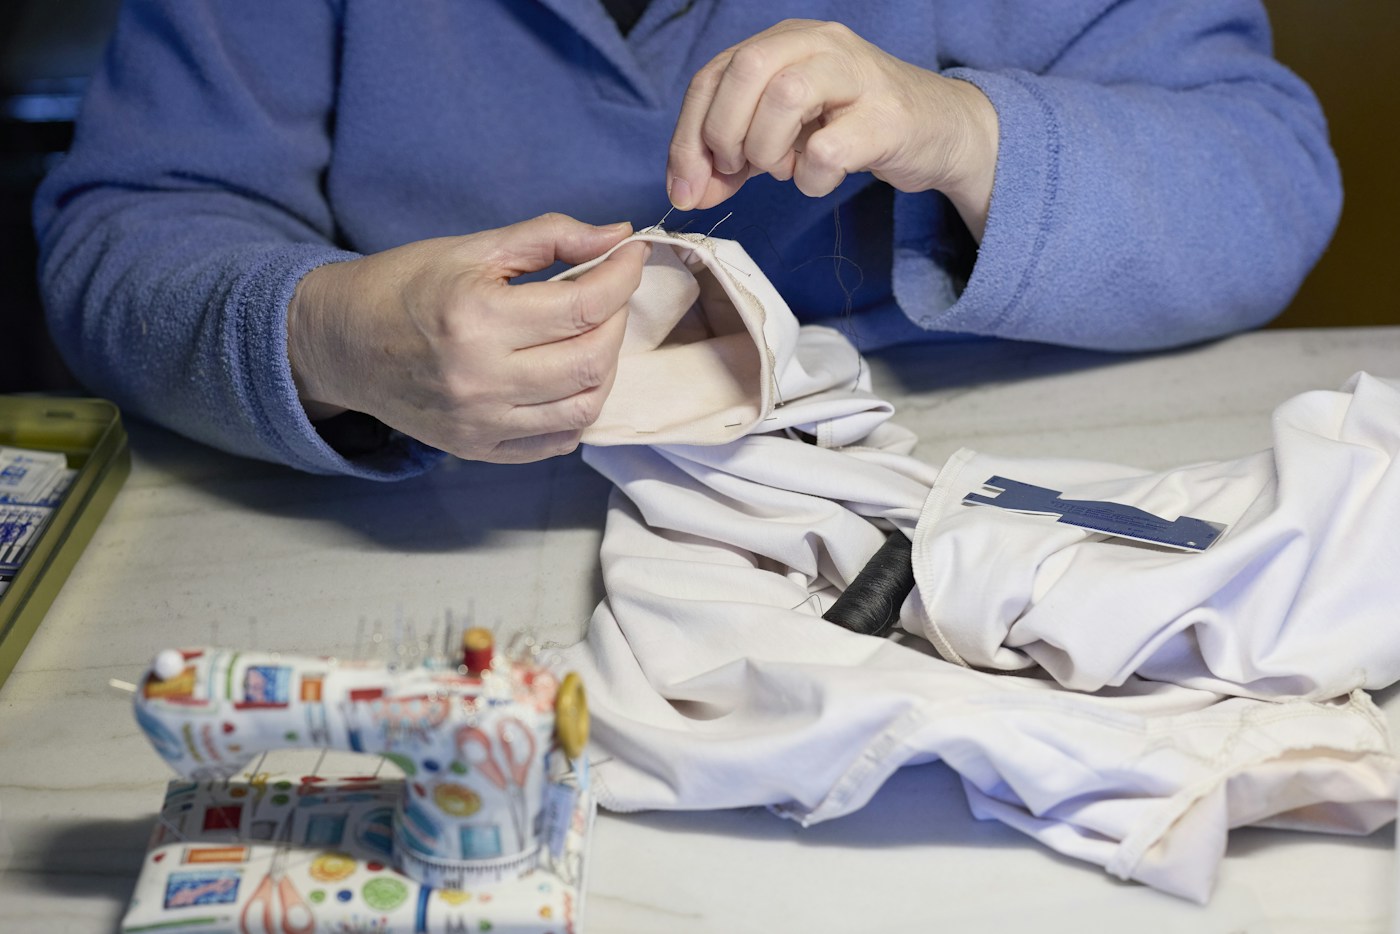
A mending basket can quietly become a second wardrobe: clothing you still own but cannot wear. The solution is not necessarily a larger basket or a more elaborate sewing kit. Start by giving each item a next action. A small tray works well because it limits what stays in view and makes the unfinished work easier to review.
Sort by the next decision
Take one garment at a time and write a short card. Include the damage, what you think the repair involves and what you need before starting. Use concrete phrases such as ‘find matching button’, ‘inspect side seam’ or ‘ask alteration shop about lining’. Avoid the single word ‘fix’. If the problem is not yet understood, make inspection the next action instead of pretending the technique has already been chosen.
Separate items you can prepare now from those needing research, materials or professional help. This is a workflow choice, not a judgment about which garments deserve saving. A simple repair on a piece you want to wear tomorrow may reasonably come before a more interesting but complicated project. Keep the waiting items labelled so that putting them away does not erase the decision you already made.
Build a kit around the current task
For a basic hand-sewing session, bring out only the appropriate needle, thread, scissors, garment and any temporary marking or holding tools the method requires. Keep a secure resting place for the needle and count tools back into storage when finished. Do not leave loose pins in a garment that might return to a shared wardrobe before the repair is complete.
The Sewing and Craft Alliance's clothing-care guidance discusses familiar maintenance tasks such as loose buttons, open seams and hems. Those are useful categories for a repair inventory, but each garment still needs inspection. Put the chosen full instructions beside the work rather than relying on a vague recollection from another fabric. A clear tray should make it easier to follow a method, not encourage faster improvisation.
Define what finished means
Use a short completion check: the repair is secure for its intended use, the garment opens and moves as it should, accidental catches have been checked and all temporary tools are removed. Inspect both sides in good light. If pressing is appropriate, follow the garment's care information and the requirements of any material you added. A photograph and a few notes can record the result without turning a small task into a report.
Then give the garment an exit. It returns to wear, waits for a defined follow-up or goes to the next repair route you selected. Do not put a completed item back into the same basket by default. At the end of a session, choose just one next card for the tray. The aim is a collection of useful clothes, not a perfectly arranged backlog. A system succeeds when garments leave it and become part of ordinary life again.
Common maintenance categories: Sewing and Craft Alliance: Clothing Care and Repair. The tray, task-card and completion workflow is an editorial suggestion.